
Retail Labeling Tips: Top 5 Tricks to Increase Impulse Purchases
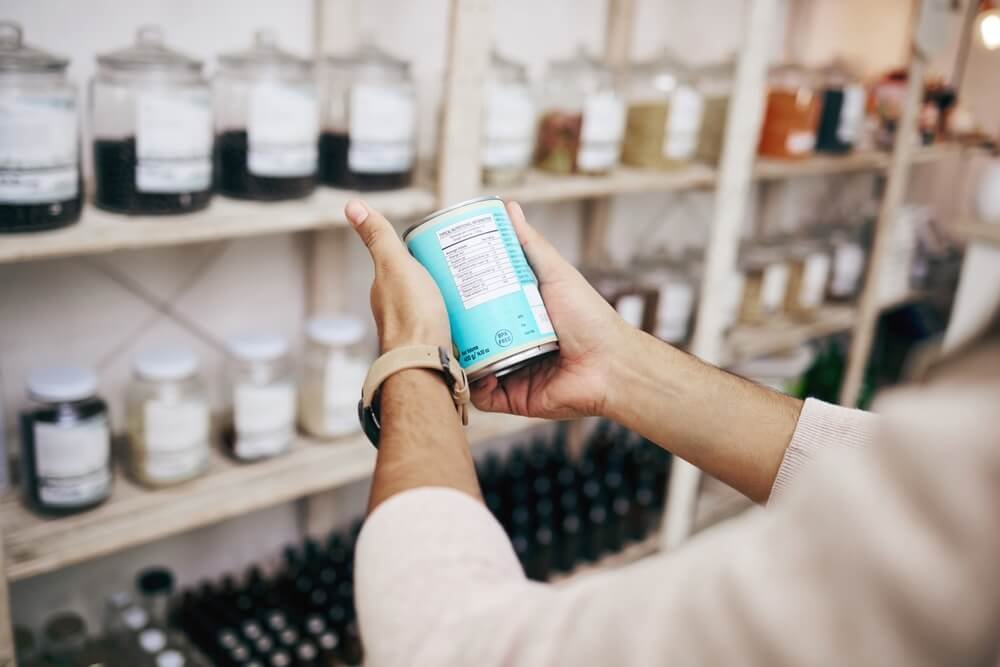
A shopper picks up a scarf, turns it over looking for a price, finds nothing, and puts it back on the pile. Nobody at the till ever knows that sale existed.
Most retail labeling tips start with the design of the promotion. The bigger lever sits earlier than that. People buy on impulse when a price is easy to find, easy to read and easy to believe. The five tricks below cover exactly that, and each one carries the reason it works, because a trick you understand is a trick you apply properly.
None of this needs a budget. A price gun, a box of labels, a few coloured stickers and two sign holders will run all five.
Why these retail labeling tips work at all
An impulse purchase is a decision made in a few seconds, usually with someone else’s shopping list already in hand. The shopper is not researching. They glance, they judge, and they either reach or walk on.
Every extra second you add to that glance works against you. Hunting for a price, squinting at handwriting, or flagging down a member of staff all break the moment. Psychologists call the comfort of easy-to-process information cognitive ease, and Daniel Kahneman covers it at length in Thinking, Fast and Slow. Information that goes down easily feels more true and more comfortable before the reader has judged the content at all. A crisp printed price reads as honest before the shopper has even thought about the number.
Labeling does practical work. It removes the small delays sitting between a shopper’s hand and their wallet.
Trick 1: Price the item, not only the shelf edge
Shelf-edge pricing holds up until someone lifts an item and carries it two aisles away. Then it becomes an unpriced object in a stranger’s hand. Stock on tables, in baskets, on hooks and in bargain bins gets separated from its shelf label all day long.
Put the price on the item. A price gun prints a clean, uniform label in about a second, and that label travels with the product to the till.
Why it works
A shopper who can read the price without asking stays in control of the decision. Asking a member of staff turns a private impulse into a small social event, and plenty of people would rather put the item down than start that conversation. Charity shops, market stalls and busy delis see this happen every trading day.
How to do it this week
- Set the gun once per price band, then work through the whole band before you change the wheels again. Changing digits fewer times is what makes the job fast.
- Label the same spot on every unit. Top right of a box, back of a card, the swing ticket on a hanger. Consistency lets staff at the till find the price without turning the product over.
- Standard labels for an MX-5500 style gun measure 21mm x 12mm, which is big enough to read across a table and small enough to sit on a bottle neck.
- Keep the label clear of artwork, ingredient panels and barcodes.
If you have never used one, the beginner’s guide to using a price gun covers loading, wheel setting and priming the ink in four steps.
Trick 2: Show the old price beside the new one
A number on its own means nothing to a shopper who does not know the category. Eighteen dollars for a candle is either a bargain or a rip-off, and there is no way to tell in three seconds.
Give them the comparison. Leave the original price visible and put the sale price next to it, or carry both numbers on a small sign above the display.
Why it works
Amos Tversky and Daniel Kahneman described anchoring in their 1974 paper on judgement under uncertainty: the first number a person sees pulls their judgement of every number that follows. The original price becomes the anchor. The sale price is then read as a saving rather than a cost.
Anchoring only holds when both numbers are honest. An inflated “was” price you never charged is a legal risk in the US and, more immediately, your regulars will spot it.
How to do it
- Strike the old label with one clean line and stick the new label beside it, not over it.
- On a bundle, show the total of the parts and then the bundle price. “$26 separately, $19 together” does the arithmetic for the shopper.
- On a clearance rail, put one sign at the end of the rail carrying the maths once, instead of repeating it on every hanger.
- Round the saving to something a person can hold in their head. “Save $7” beats “Save 27.4%”.
Trick 3: Give the deal a colour of its own
Shoppers read a shop the way they read a page, in sweeps. Colour survives that sweep better than words do. Reduced stock marked with a bright sticker gets found from the doorway; the same stock marked in black biro gets found by nobody.
Why it works
Once a shopper learns that orange means reduced in your shop, you have handed them a shortcut, and they will use it on every visit. That shortcut also does something useful to a browser who came in for one thing: it gives them a second reason to keep walking.
How to do it
- Pick one colour for markdowns and one for new stock. Two colours, no more. A shop running five colours has taught its customers nothing.
- Fluorescent orange and fluorescent yellow are the two most common markdown colours in US retail, so shoppers arrive already knowing what they mean.
- Repeat the same colour on the sign above the display, so the label and the sign read as one system.
- Keep white for full-price stock. White is the standard price gun label and it should stay unremarkable.
Colour choices for the labels themselves, including removable adhesive for glassware and books, are covered in the price gun labels size and roll guide.
Trick 4: Put one sign in the impulse zone
The impulse zone is the last four feet before the till and the first eight feet inside the door. At the till the shopper has a wallet open and the decision behind them. At the door they are deciding what kind of shop this is.
One sign in each spot is plenty. A wall of signage in either place gets ignored as scenery.
Why it works
At the counter the buying decision is already made, so an add-on competes with nothing. That is why sweets and batteries live there. At the entrance the sign frames the whole visit before browsing starts, telling shoppers where the deals sit and when they end.
How to do it
- One message per sign. A sign carrying three offers gets read as wallpaper.
- Print at 8.5 x 11 inches and slide the sheet into a wall mount acrylic sign holder. Paper taped to a wall reads as temporary. The same sheet behind acrylic reads as a shop that pays attention.
- Change the sheet, keep the holder. Swapping an offer then costs you one sheet of paper and twenty seconds.
- Date the offer. “Ends Sunday” converts better than an open-ended deal, and it saves you an argument three weeks later.
Trick 5: Label the whole shop the same way
Mixed labeling is the quiet killer. A shop where some items carry printed labels, some carry marker pen on masking tape and some carry nothing at all is telling shoppers that pricing here is a matter of opinion.
Why it works
People are sensitive about fairness where money is involved. Inconsistent pricing raises a question the shopper cannot answer on their own: does everyone pay this? Once that question exists, someone who was about to spend $12 without thinking starts thinking. Consistency closes the question before it opens, which is the least glamorous and most reliable of these retail labeling tips.
How to do it
- One gun, one label size, one position on the pack, across the whole floor.
- Write the rule down and pin it in the stockroom. Two staff labeling to two different habits produce the same mess as no rule at all.
- Replace faded, curled and half-peeled labels on sight. A tired label does more damage than a missing one.
- Walk the floor for five minutes before opening and fix what you find. Most days that is three or four labels.
A 30-minute version of these retail labeling tips
If you want the smallest useful version, run this on a quiet afternoon:
- Load the gun and set it to your most common price band.
- Walk the shop and label every unpriced item in that band.
- Repeat for the next two bands. Three bands normally cover most of a small shop’s stock.
- Pick your markdown colour and re-sticker the clearance section in it.
- Print one offer sheet, put it in a holder, and stand it on the counter.
- Print a second sheet for the entrance.
That is the whole system running. Everything after that is maintenance.
Four mistakes that cancel out the gains
These retail labeling tips fail in predictable ways. Watch for all four:
- Labeling over the barcode. The till cannot scan it, the queue slows, and the shopper behind starts editing their basket.
- Leaving old promotional signs up. A sale that ended in March, still on the counter in August, teaches shoppers to ignore your signs permanently.
- Using every colour. Colour only carries meaning while it stays scarce.
- Running out of labels mid-delivery. Half a pallet gets priced, the rest goes out bare, and the shop looks careless for a week. Keep a spare pack of rolls and a spare ink roller in the drawer.
What you need to run all five tricks
The kit is small. A price gun, labels, ink, coloured stickers and two sign holders will cover a shop floor of most sizes.
The Easy Tag 5500EOS is a one-line, 8-digit price gun on the standard MX-5500 style body, at $24.99. The kit contains the gun, 5,000 white labels supplied as 10 rolls of 500 at 21mm x 12mm, three ink rollers with one already fitted, and a label scraper for lifting old labels off returned or repriced stock.
It comes in Blue and Red, and both are also listed on Amazon. Same gun, same rolls, so spare labels work across every unit you own. Shipping is free on shopeasytag.com, standard US delivery runs 3 to 5 business days, and returns run 30 days on unused kits in original packaging.
If you are still deciding which tool your shop needs, the complete guide to retail tag guns sorts out the three different tools people call by that name.
Frequently asked questions
Do these retail labeling tips work for a market stall?
They work better on a stall than in a shop, because a stall has no shelf edges to fall back on. Every item has to carry its own price. A mechanical price gun needs no power and no signal, which matters when you are trading out of a van at seven in the morning.
How many labels will a small shop get through?
Count what you price in a normal week, multiply by 52, then add a third for repricing and markdowns. A shop pricing 100 items a week lands near 7,000 labels a year. The 5,000-label kit covers most of a first year on its own.
Should I put prices on the item if I already have shelf labels?
Yes for anything a shopper picks up and carries, and for anything in a bin, basket or table display. Shelf labels alone are fine for fixed shelving where stock never moves off its own facing.
What is the fastest of the five tricks to apply?
The counter sign. Print one sheet, slide it into a holder, done in two minutes. The other four take an afternoon the first time and minutes a week afterwards.
Do bright labels make a shop look cheap?
Bright labels on everything do. Bright labels used only on genuine markdowns read as a clear signal instead of a discount shop. Keep full-price stock on plain white and the contrast does the work.
How do I price clothing without damaging the fabric?
Print the label onto a swing ticket or a card tag rather than the garment, then attach the ticket. Sticky labels lift threads on knitwear and leave residue on silk. The guide to pricing clothing in a boutique or store covers the practical routine.
Start with one
Pick the trick that fixes your most obvious gap and run it this week. For most small shops that is trick one, because unpriced stock costs sales silently and nobody ever complains about it. The remaining retail labeling tips are easier once every item in the shop already carries a price.
Questions on sizing or kit contents: call 480-688-6950 or email hello@shopeasytag.com.