How to Use a Price Gun: A Step-by-Step Guide for Beginners
In the ever-evolving landscape of retail, efficiency remains the ultimate competitive advantage. As we move into 2025 and 2026, store owners are balancing high-tech digital solutions with the time-tested reliability of physical labeling. Whether you’re running a modern boutique, a busy convenience store, or organizing a massive community yard sale, the ability to price items quickly and clearly is essential.
If you’ve recently invested in a professional-grade tool like the Easy Tag 5500EOS, you’ve already taken the first step toward a more organized business. However, for a beginner, a price gun can look like a complex piece of machinery. This guide will walk you through everything you need to know—from loading your first roll to advanced maintenance—ensuring your retail operations remain seamless and professional.
Why Manual Labeling Still Leads in 2026
You might ask: "With digital shelf edges and QR codes, why is the manual price gun still a staple?" The answer is rooted in customer trust and operational speed. 1. Immediate Price Recognition: Customers still prefer the "touch and see" experience. A clear price tag on a product reduces "price friction" and speeds up the decision-making process. 2. Inventory Flexibility: When you need to mark down items for a flash sale or categorize inventory by arrival date, a price gun is faster than updating a digital database for every individual unit. 3. Reliability: Digital systems can fail, but an Easy Tag price gun doesn't require a Wi-Fi connection or a battery. It’s always ready to work when you are.
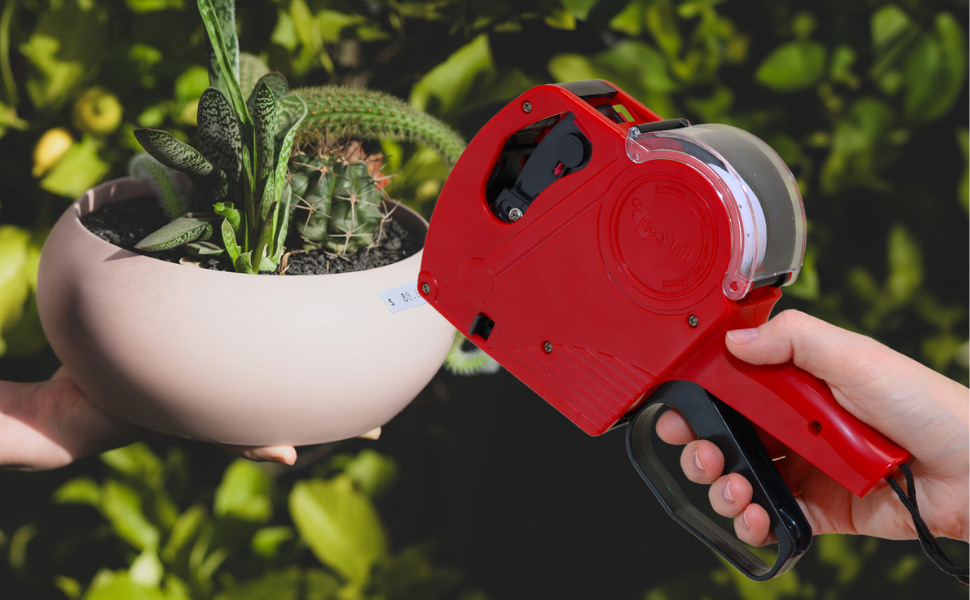
At EasyTag, we specialize in making retail management affordable. Our flagship models, the Easy Tag Price Gun 5500EOS in Blue and the Easy Tag Price Gun 5500EOS in Red, are designed to handle the rigors of daily commercial use while remaining lightweight enough for long labeling sessions.
Unboxing Your Easy Tag 5500EOS Kit
Before we dive into the "how-to," let's look at what comes in a professional kit. Unlike basic models, the 5500EOS series is a complete "business-in-a-box." When you unbox your Price Gun, you’ll typically find:
- The 8-Digit Price Gun: Capable of printing prices, dates, or batch codes.
- 5,000 White Label Stickers: High-quality adhesive labels that won't fall off.
- 3 Ink Rollers: One pre-installed and two spares to ensure you never run out mid-shift.
- 1 Scraper: A specialized tool to help you remove old labels without damaging the product surface.
Step 1: Loading the Label Roll
The most common hurdle for beginners is loading the labels. If the labels aren't threaded correctly, the gun will jam. Follow these steps for a perfect load every time:
- Open the Chamber: On the top of the gun, you’ll see a clear plastic cover. Pop this open to reveal the label cradle.
- Insert the Roll: Place your roll of labels inside. Make sure the labels feed from the bottom of the roll toward the front of the gun.
- Open the Bottom Plates: This is the "secret" to easy loading. Pull back the two small black triggers on the side of the handle to drop the base plate. Then, flip open the small internal "gate" (the sprocket door).
- The Threading Process: Take the end of your label strip and feed it through the front slot of the gun until about 4-5 inches hang out the bottom.
- Align with Sockets: Close the internal gate first. Make sure the holes in the label backing line up with the small teeth (sprockets) on the roller.
- Close and Click: Snap the bottom base plate shut. Squeeze the trigger a few times. You should feel the tension as the gun pulls the backing paper through and ejects a perfectly printed label.
Step 2: Setting the 8-Digit Display
The 5500EOS is an 8-digit powerhouse. This means you aren't limited to just prices; you can use it for SKU coding or dating.
- Pull the Adjustment Knob: On the side of the gun, there is a black knob. Pull it out horizontally.
- Select Your Column: Move the knob left or right until the red indicator box is over the digit you want to change.
- Rotate to Change: Turn the knob to cycle through numbers (0-9), currency symbols ($, €, £), or special characters (., /, EA, FOR).
- Lock it In: Once your price (e.g., $ 129.99) is set, push the knob back in all the way.
Pro Tip: For sales or clearance events, swap your standard white labels for high-visibility Sales Stickers. This visual cue alerts customers to a bargain immediately, increasing your conversion rates.
Step 3: Changing the Ink Roller
If your prints start looking faded or "ghosted," it’s time for a fresh ink roller. Your Easy Tag kit comes with three, so you’re already ahead of the game!
- Access the Ink Front: Flip open the small plastic door at the very front (nose) of the price gun.
- Eject the Old Roller: You’ll see a small cylinder. Many users use the included scraper or a pair of tweezers to pull this out to avoid getting ink on their hands.
- Click in the New Roller: Simply push the new ink roller into the clips until it clicks.
- Test Run: Squeeze the trigger onto a scrap piece of paper until the ink flows evenly across the digits.
Step 4: Maintenance and Using the Scraper
One of the unique features of the Easy Tag 5500EOS Blue kit is the inclusion of a Scraper tool.
In retail, prices change. When it’s time to update a price, don't use your fingernails—it looks unprofessional and can leave residue. Use the scraper to lift the edge of the old label cleanly. If there is sticky residue left behind, a tiny drop of rubbing alcohol on a cloth will clear it up before you apply the new price.
Maintenance Checklist:
- Weekly: Wipe down the label path with a dry cloth to remove paper dust.
- Monthly: Check the sprocket wheels for any adhesive buildup.
- Storage: Always store your gun in a cool, dry place to prevent the adhesive on the Sales Stickers from becoming gummy.
Scaling Your Labeling Strategy
As your business grows, you may find that stickers aren't suitable for every product. A professional store uses a multi-layered approach to labeling:
1. Apparel and Fabrics
For clothing, a sticker can leave a glue mark or fall off easily. This is where you should transition to using a Stitch Gun. By using Plastic Tags, you can securely attach price cards to the garment's care label or seam without damaging the fabric.
2. High-End Displays
For luxury items or bulk bins where individual pricing isn't practical, an Acrylic Sign Holder provides a clean, polished look. Place these on your countertops to announce "New Arrivals" or "Bundle Deals" alongside your individually priced items.
Troubleshooting Common Beginner Mistakes
The Gun is Jamming: This is usually because the labels weren't fed through the bottom gate correctly. Open the bottom, clear the torn paper, and re-thread.
Labels Aren't Sticking: Ensure the product is free of dust or moisture. If you’re labeling frozen goods, you may need specialized "cold-temp" labels.
Double Printing: If two labels come out at once, check the tension on your label roll. Ensure the roll is seated firmly in the top cradle.
Conclusion: The EasyTag Advantage
At EasyTag, we believe that the right tools make the job feel like second nature. Our 5500EOS series (available in both Red and Blue) is engineered for retailers who value their time. With 5,000 stickers included and extra ink rollers, we ensure that your focus stays on your customers, not on your supplies.
Labeling might seem like a small detail, but in the eyes of a customer, a clearly priced, professionally labeled item is a sign of a business that cares about quality.